Matariki was a time when food was stored, and the weather was not always pleasant outside. So whānau (families) spent time together engaging in cultural pursuits such as storytelling, arts and games. A popular game for tamariki (children) was to make spinning tops. The tops were craved from hardwood like mataī. A whip made from a stick and flax fibre was used to guide the top over obstacles and keep it spinning. A picture of a traditional top can be found at:
There are cheap and accessible materials available to create tops. This video take a scientific approach to the making different tops:
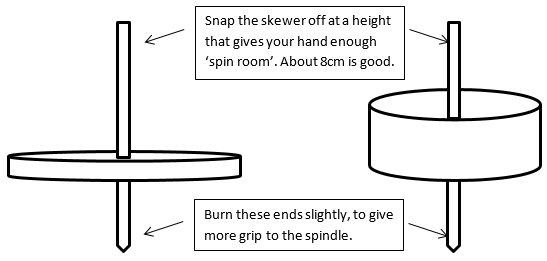
Any plastic bottle top will work, e.g. milk bottle, yoghurt, marmite jar. Use bamboo skewers for the spindle (vertical part). You can trim the skewers to size, which is a nice variation when students are trying to ‘tune up’ their tops. Small nails or screws are cheap and safe for making the hole in the centre of the top. It is important not to make the hole too big. The skewer needs to be pushed firmly into the hole and checked to see if it is at right angles to the top (students will find that out in the tuning process). Adding weight to the spinner can also increase the spin time. Blutac or plasticine is good for putting on the inside as it keeps the spindle vertical and the position of the weight can be altered. Take care. Not a lot of extra weight is needed and it is very easy to unbalance the top.
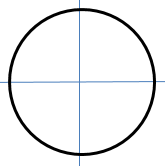
The first mathematical challenge is finding the exact centre of a circle. Discuss what is likely to happen if the hole is not in the middle of the plastic bottle top. Since tops rely on balance an off-centre top will not spin for long. Challenge the students to find a way to find the centre of a circle. You might give them some paper circles to experiment with. Rulers and pencils will also be helpful.
Students are likely to suggest the ‘cross method’ of finding two diameters, one vertical and the other horizontal. This method is quite accurate but it is not always easy to ensure the lines are actually diameters.
Draw a large circle on the whiteboard and mark a point on the circumference. Put the zero mark of a metre-long ruler on the point and rotate the rule about it.
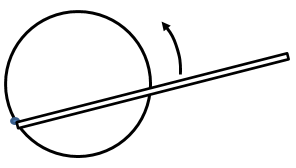
Ask, “How will I know when the ruler is making a diameter?” Some students might notice changes to the measurement from the point to where the ruler crosses the other side.
“If the measurement changes how will I know when I have a diameter?” The ruler marks a diameter when the measure is at its greatest. The measure declines as the ruler is rotated from that position.
You can now draw a diameter on the circle.
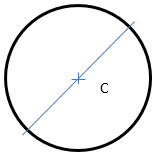
Ask, “Where will the centre of the circle be?” The centre is at the midpoint of the diameter (C).
Students can then make their spinning tops. Since this is a celebration of Māori culture they might like to consider how the inside circle of the top might be decorated.
Ask, “What will happen to the design as you spin your top?” In fact much specific detail will be lost as the top rotates so encourage your students to keep the design simple. They could decorate directly onto the plastic with spirit based pens by cutting a circle of paper the size of the top, decorating that and putting it inside the top is a safer option.
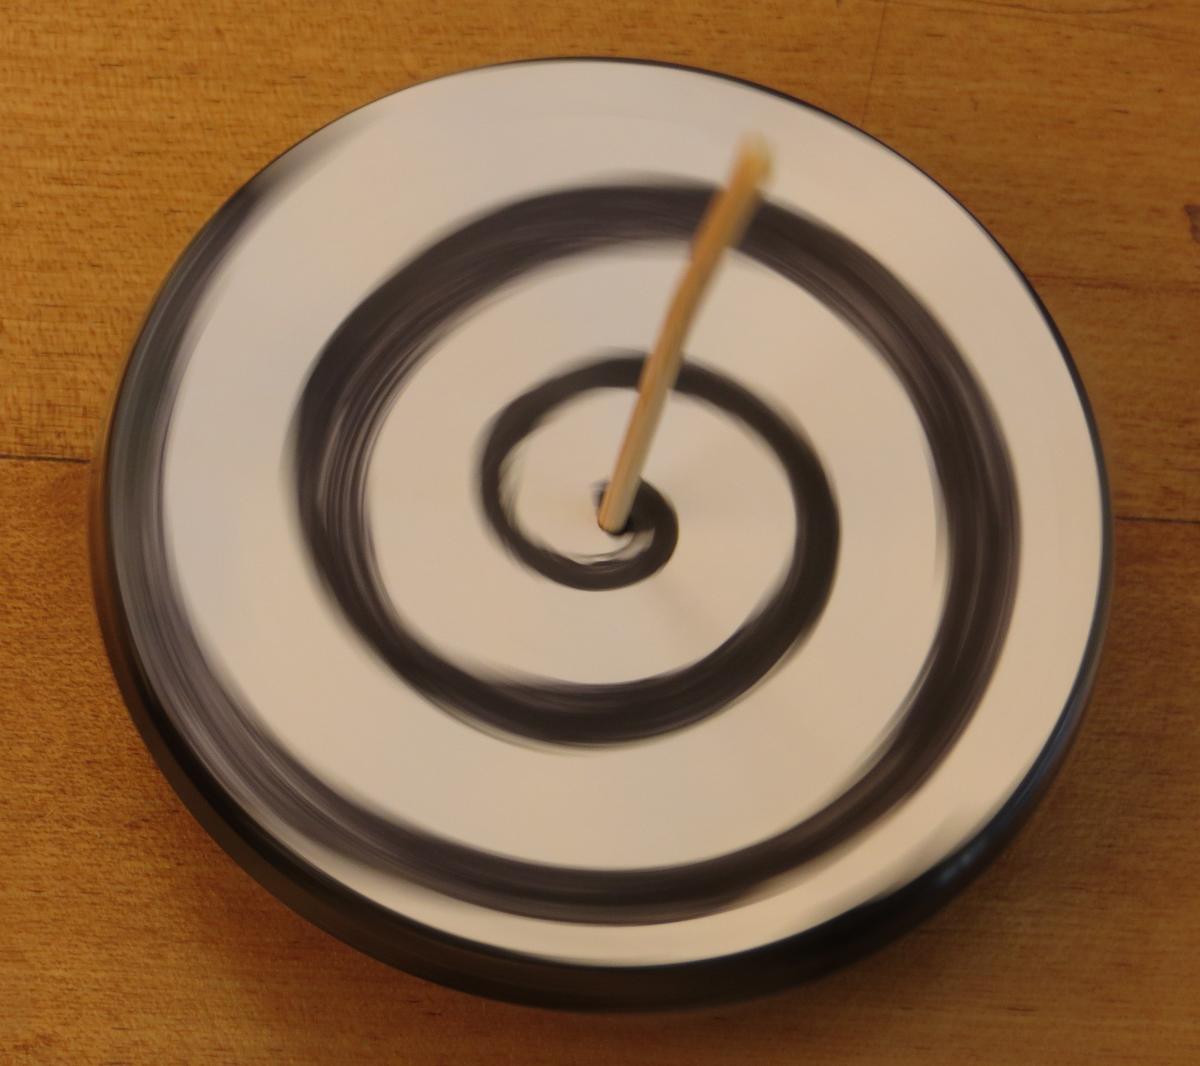
This beautiful koru spiral top was made from a plastic yoghurt lid and spins for about one minute.